
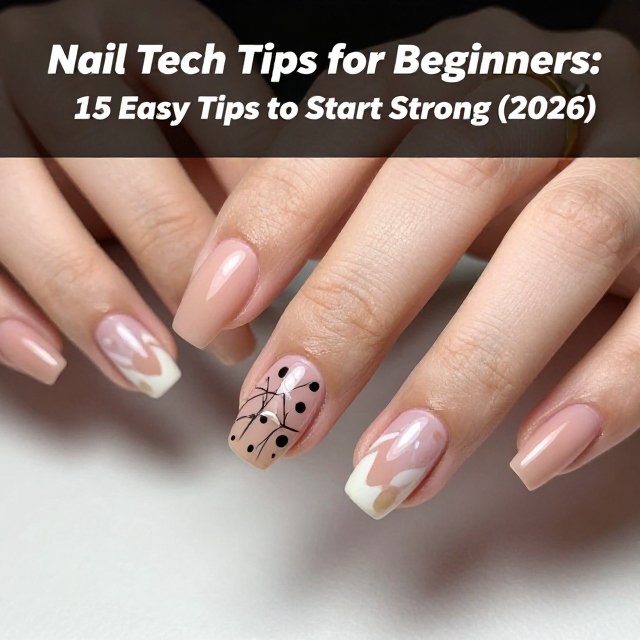
Quick answer: The best nail tech tips for beginners are to learn hygiene first, buy a small set of quality tools, master nail prep, work in thin coats, practice on mock hands, and ask clients for feedback. Speed and fancy nail art come later with practice.
Starting as a nail technician is exciting and a little scary. You watch skilled artists online and think, “How do they make it look so easy?” Then your own first set has thick polish, uneven shapes and lifting after two days.
Don’t worry. Every expert started exactly where you are. This guide gives you simple nail tech tips for beginners that you can apply from your very next practice session. No fancy words, just clear steps.
1. Put Hygiene and Safety First
Clean work is the foundation of this job. Clients trust you with their hands, so cleanliness is not optional.
- Wash your hands before every client.
- Clean and disinfect your tools after every use.
- Never reuse single-use items such as files and buffers on another client.
- Keep your table clean and tidy.
- Ask clients about allergies or skin problems before you begin.
Rules and licensing requirements are different in every country and state. Check what your local board or authority requires before you take paying clients. This is one of the most important nail tech tips for beginners because it protects both you and your clients.
2. Start With a Small, Quality Tool Kit
You don’t need 200 products on day one. A beginner kit can be simple:
- Hand file and buffer
- Cuticle pusher and nippers
- Nail clippers
- Base coat, top coat and a few polish shades
- Lint-free wipes and nail cleanser
- Hand sanitizer and disinfectant
- Good table lamp
- If you do gel: a gel base, color gels, top coat and a curing lamp
Buy fewer, better products instead of a large cheap collection. Poor quality tools and products can make your work harder and your results worse.
3. Learn Nail Anatomy
Before you shape or trim anything, understand the nail. Know the nail plate, cuticle, sidewalls and free edge. When you know where the living skin ends, you work more gently and avoid injuring the client.
A little study here makes every other skill easier.
4. Master Nail Prep (It Decides How Long the Set Lasts)
Beginners often rush to the color. But prep is where most of the quality comes from.
A simple prep routine:
- Remove old polish.
- Shape the nails.
- Gently push back the cuticles.
- Lightly buff the nail surface if your product requires it.
- Wipe away dust and oil with a cleanser.
Clean, dry nails help polish and gels stay in place longer. If your work lifts or peels early, check your prep first.
5. Be Gentle With Cuticles
Many new techs cut too much or push too hard. Aggressive cutting can hurt the client and may lead to irritation. Work gently, soften the area first if needed, and only remove loose, dead skin. If you are not sure, do less.
6. Work in Thin Coats
This is one of the most useful nail tech tips for beginners. Thick polish or gel looks lumpy, takes longer to dry or cure, and can wrinkle or peel.
- Apply thin, even layers.
- Use a small amount of product on the brush.
- Wait for each layer to dry or cure as the product instructions say.
Two thin coats almost always look better than one thick coat.
7. Don’t Flood the Cuticle
Keep a tiny gap between the product and the skin. Product touching the skin can cause lifting and, with gel, may increase the chance of irritation. Clean up small mistakes with a thin brush before curing.
8. Follow Product Instructions Exactly
Every brand is different. Cure times, lamp types and layer thickness can vary. Read the label and follow the instructions. A wrong lamp or too short a cure time can cause sticky, soft or lifting nails.
Stick to one brand system while you learn, because mixing products can lead to unpredictable results.
9. Practice on Mock Hands First
Practice hands (also called mannequin hands) let you make mistakes without risk. Use them to practice:
- Shaping: almond, square, round, oval
- Smooth polish or gel application
- Clean cuticle lines
- Simple nail art
Practice a little every day. Short, regular sessions help more than one long session every few weeks.
10. Learn Basic Shapes Well
Clean, even shaping makes even a plain polish look professional. Start with simple shapes:
- Round: easy and gentle for short nails
- Square: straight edge with sharp corners
- Squoval: square with softened corners, a safe everyday choice
- Almond: tapered with a rounded tip
Check that both sides look balanced and that all ten nails match.
11. Keep Your Workstation Organized
A tidy table saves time and lowers stress. Keep your tools in the same place every time, remove clutter, and have a clean towel and fresh wipes ready.
Good lighting matters too. If you can’t see clearly, you can’t work cleanly.
12. Take Your Time Before You Chase Speed
Beginners feel pressure to be fast. Speed comes naturally after repetition. Focus first on:
- Safe technique
- Clean results
- Consistency
- Then speed
A client would rather have a neat, longer appointment than a rushed, messy one.
13. Communicate Well With Clients
Good service is not only about nails. Make clients comfortable.
- Greet them warmly and ask what they want.
- Show reference photos to avoid misunderstandings.
- Explain what you are about to do.
- Be honest if a design is too hard for your current skill level.
- Give simple aftercare advice, such as moisturizing hands and cuticles.
Clients who feel heard are more likely to return and recommend you.
14. Take Photos of Your Work
Photograph every set you are proud of, with good lighting and a clean background. This builds your portfolio. When you are ready to find clients, photos of your real work will speak for you.
Always ask for permission before sharing photos that show a client’s hands in public.
15. Keep Learning and Accept Feedback
The nail industry keeps changing with new products and trends. Take a course, watch tutorials from trusted professionals, and learn from experienced techs. When a set lifts or a client is unhappy, treat it as a lesson, not a failure.
Ask yourself: What went wrong? Was it prep, thickness, curing, or product? Then fix that one thing next time.
Common Beginner Mistakes to Avoid
- Skipping hygiene steps
- Rushing nail prep
- Applying thick coats
- Over-filing the natural nail
- Getting product on the skin
- Buying too many products too soon
- Taking clients before you feel ready and legally allowed
A Simple 7-Day Practice Plan
- Day 1: Study nail anatomy and hygiene rules.
- Day 2: Practice filing all basic shapes.
- Day 3: Practice prep and cuticle care on a mock hand.
- Day 4: Practice smooth polish application in thin coats.
- Day 5: Practice your base, color and top coat routine.
- Day 6: Try one simple design, like lines or dots.
- Day 7: Review your photos and note what to improve.
Repeat and add something new each week.
Frequently Asked Questions
What do beginner nail techs need to know first?
Start with hygiene, nail anatomy and nail prep. These three skills affect every service you will ever do.
How can I practice nail tech skills at home?
Use practice hands for shaping, polish and designs. You can also practice with a friend’s permission, but keep to basic, safe services until you are trained.
Do I need a license to work as a nail tech?
Requirements depend on your country or state. Check with your local licensing authority before you charge clients.
What are the most important tools for a beginner nail tech?
A good set of files and buffers, cuticle tools, clippers, base and top coat, cleanser, disinfectant and good lighting. Add a gel system and lamp when you are ready to learn gel.
How long does it take to become good at nails?
It varies from person to person. Regular practice, good training and feedback help you improve faster.
Summary
The best nail tech tips for beginners are simple: put hygiene first, learn nail anatomy, prepare nails properly, work in thin coats, practice on mock hands and listen to your clients. Build skill first and speed later.